There has been a variety of preparation work happening gradually over the past few months in parallel with the component sourcing, I’ve not needed or wanted to rush anything – it has of course also had the delay caused by my little “mishap” when I was removing the steering column bung – but I’ve also used the time while I’ve been sourcing components to ensure I had the correct tools to build & maintain the bike.
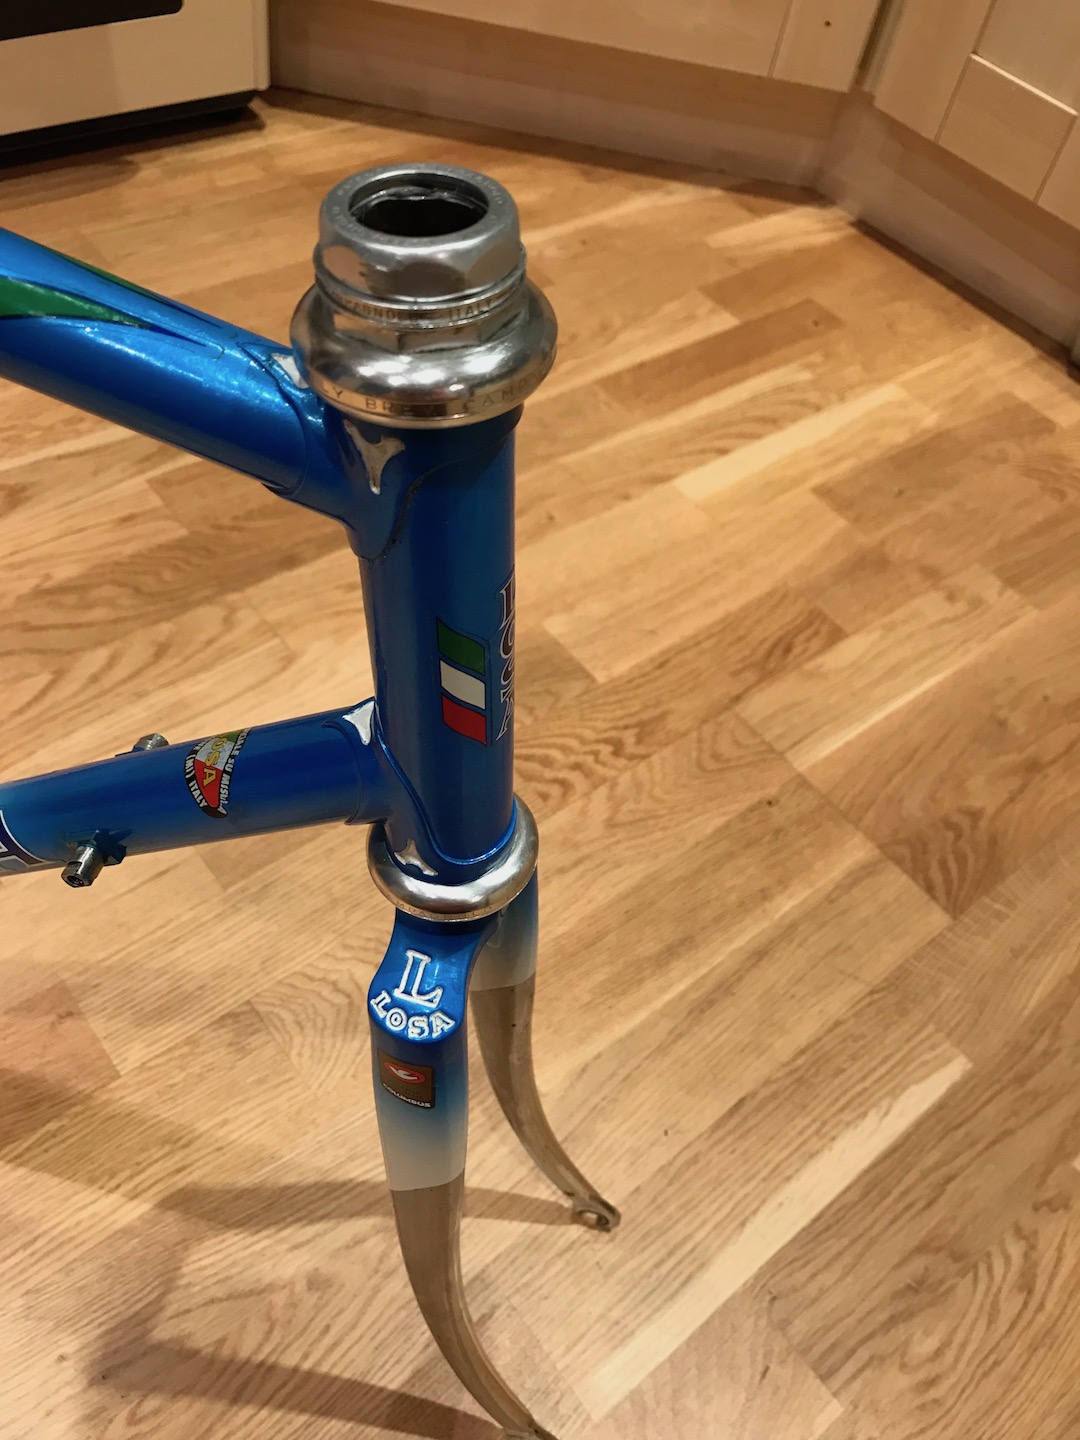
The frame itself is generally in very good condition, a couple of minor marks here & there but nothing major, so it’s mostly a case of some touch up and making sure it stays that way.
Steel Protection
I’m not intending to be taking the Losa out in all weathers but we live in the UK so, whatever the time of year, you will inevitably be caught in the rain at some point therefore my first priority was to treat the frame to provide some level of protection.
As always there is a variety of advice and treatment options out on the interweb, with both positive & negative comments:
- WD40 / GT85 – thin, easy to apply, provides some protection, but doesn’t last, needs re-applying
- WaxOyl – thick, heavy, messy to apply, leaves heavy wax layer which can melt in hot weather
- JP Weigle’s FrameSaver – good reviews, but not directly available in the UK
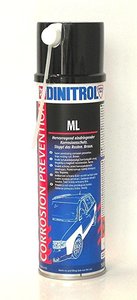
It was a different one that caught my eye though – Dinitrol ML – it seemed to get glowing reviews in comparison to the alternatives, is a thin wax based spray that leaves a light protective coating inside the tubes, reportedly even “repairing” existing signs of rust. The fact that Bob Jackson Cycles apply it to their own frames (& will treat your frame with it for a fee) helped make my decision, so off I went in search of a tin.
The search didn’t take long, Amazon had 7 cans available for next day delivery so I ordered and waited. And waited. After a week with no sign of a delivery I phoned Amazon, who promised to check and get back to me the next day – obviously they didn’t. After a few more days I called again – item was still showing as available, but there was a problem with their system as it didn’t seem they could select it for delivery, so the person thought stock levels may be incorrect. Interestingly stock was 6 when I started the call, I pointed out that had gone up to 10 by the end of the call – perhaps I could have one of the 4 new ones that appeared while we were talking? 😃
Leaving the item on order with Amazon to sort out, I placed an order with a vendor on eBay who had it in stock – at least they said they had. 2 weeks later nothing (nor from Amazon) and I had to raise an eBay dispute to get my money back even though they hadn’t sent anything!!
In the interim I tried my local motor factor –
Dinitrol? – oh, I used to stock that years ago. Much better than that sh@t I have on the shelf. Fantastic stuff. Can you still get it?
(I won’t mention names, but on his shelf was an alternative wax product that I may have mentioned earlier…)
Having finally received my refund on eBay, I ordered from a different supplier – Demon Tweeks – through their eBay store and they delivered next day (which I wasn’t expecting & hence the free advertising!).
For those who care, Amazon eventually cancelled my order after about 2 months, having shown the Dinitrol in stock through most of that time, but never delivering (it’s now finally showing out of stock).
Finally, spray in hand I set to applying the Dinitrol to the tubes – it is easy to apply, spraying in the tube openings then rotating the frame around so that all the internals are coated before letting any excess drain out after application, leaving a very thin slightly tacky/wet feeling waxy residue on the tubes.
After all that wait to get the Dinitrol, the job was done in no time at all!!
Paintwork
Next, touching up those minor chips – I’ll just nip to halfrauds and buy a touch-up stick I thought, but of course it wasn’t that easy as nothing seemed to match. I took to carrying the forks around on the front seat of my car and eyeing up passing cars on the motorway or subtly holding the forks up against likely suspects in the office car park, but nothing came close enough. Eventually, I did what I should have done in the first place and took the frame to a local paintshop to ask if they could colour match. They couldn’t get an exact match but were able to give me a small pot that is pretty close.

There’s no area that needs any major work, the biggest scrapes being under the bottom bracket. An important point to note when touching up, is that if the area you are working on is down to bare metal as it is here, you need to apply a primer/base coat first. The colour you use as primer will affect the final colour you achieve when finished, in my case I’ll be using white – if I was to use grey or red, the end colour would be very different. The most obvious example I can think of is “Gios Blue”, like “Bianchi Celeste” it’s a very distinctive colour, but apparently even though you have the correct shade of blue it often doesn’t end up as the correct shade – the “secret” for Gios is to use red primer, if you do you will get your “Gios Blue”, apparently if you use white it’s more like a Colnago Blue.
As I said, I’m using white for the Losa and am quite pleased with the results, it’s more difficult where the colour starts to blend toward the whites in the centre of the tubes, but I’m getting there – slow & steady 😃
Chrome
Finally the chrome. Again, it’s in very good condition, but there are some spots beginning to appear in patches – no fancy products needed for this though, all you need is some aluminium foil, water and a bit of rubbing. Basically, just dip the foil in water and rub the chrome a small area at a time – Aluminium is softer than steel, so won’t scratch and as you rub (& generate heat) a chemical reaction will take place that begins to work on any rust. This has the combined benefit of removing rust and polishing the chrome.
For the geeks, see Roberts Cycle for a more detailed explanation of what is happening chemically during this process.
With the prep work mostly done on the frame, it’s almost time to start mounting some components (there is 1 damaged decal I’ll be replacing – I have the replacement (an original, not a repro) – but will leave that to nearer the end).
But first, final preparation check – do I have all the tools that I’ll need?
Tools
For the most part yes I have these in my toolkit, but there are a few of the more “bespoke” tools I need:

First, Freewheel/Cassette Removal Tool
– I have one of these in my toolkit that should work, but it turns out that I need almost exactly the same tool only slightly narrower (seriously – less than 1mm!!) and a little longer, as there is a difference between a freehub cassette tool and a freewheel tool (even if both were the same manufacturer!). As always, there are countless out there, but in this instance I’m happy to pay the couple of pounds extra and just buy the appropriate Park Tool so I can be confident it will actually fit!
Next, Crankset & Chainring Bolts
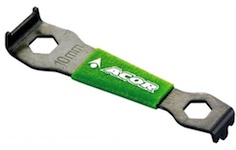
– there are a couple of special tools needed to remove/fit the crankset self-extracting bolt covers and the chainring bolts. Typically, these are being sold as a combined tool, all seeming to be much the same, so I ordered one that at least mentioned Campagnolo in the description just to be safe. It arrived and indeed it does fit the Campag chainring bolts (which, to be fair, is exactly what it says in the description) – it did NOT however fit the Campag self-extracting bolt covers, as the spacing between the holes for these is narrower than that used by Shimano (of course it is 😒 ).
Undeterred and armed with a small file – 5 minutes later, it fits perfectly 😇.
Finally, Headset Press
– I have the correct sized spanners, etc for the bottom bracket & headset in my toolkit, but I don’t have a headset press. A quick check and can see those cost quite a bit for something that I’m only going to use once (or extremely rarely at best) so an alternative was needed. The obvious alternative is just take the frame to my LBS and get them to fit the headset, but as I’m building this bike myself, that rules this out, which leaves alternative #2 – DIY
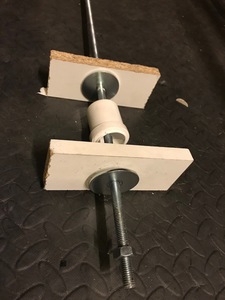
Having looked at the headset press tools available, they’re effectively a threaded rod, some large washers and bolts (albeit with nice handles for leverage) – I’m an engineer, I can do that!
One trip to B&Q later I have my threaded rod, extra large washers & bolts, to which I’ve added a short section of plastic pipe to help keep the force on the headset cups centred and a couple of blocks of wood to protect the frame and cups (note to self/others – next time use proper wood not chipboard, as it started to compress near the end).
One final comment on tools – if you don’t have a Dremel (& I mean a real one, not the cheaper clones where the motor grinds to a halt the minute you put any pressure on them), I seriously suggest you invest in one if you are going to be doing any restoration work, I’ve found it to be incredibly useful (prepping / cleaning / polishing).
Initial Assembly
So, mostly prepared, let’s get the headset fitted to the frame so that the forks can be bolted on.
Prior to starting, I popped the headset cups in the freezer for a short time to help make the fitting just a little easier (as metal contracts with cold). Then assisted by a liberal smearing of grease I used my diy press to fit the bottom cup, making sure it stayed aligned so force applied equally, then the same again for the top cup. A few minutes later and the headset was fitted.
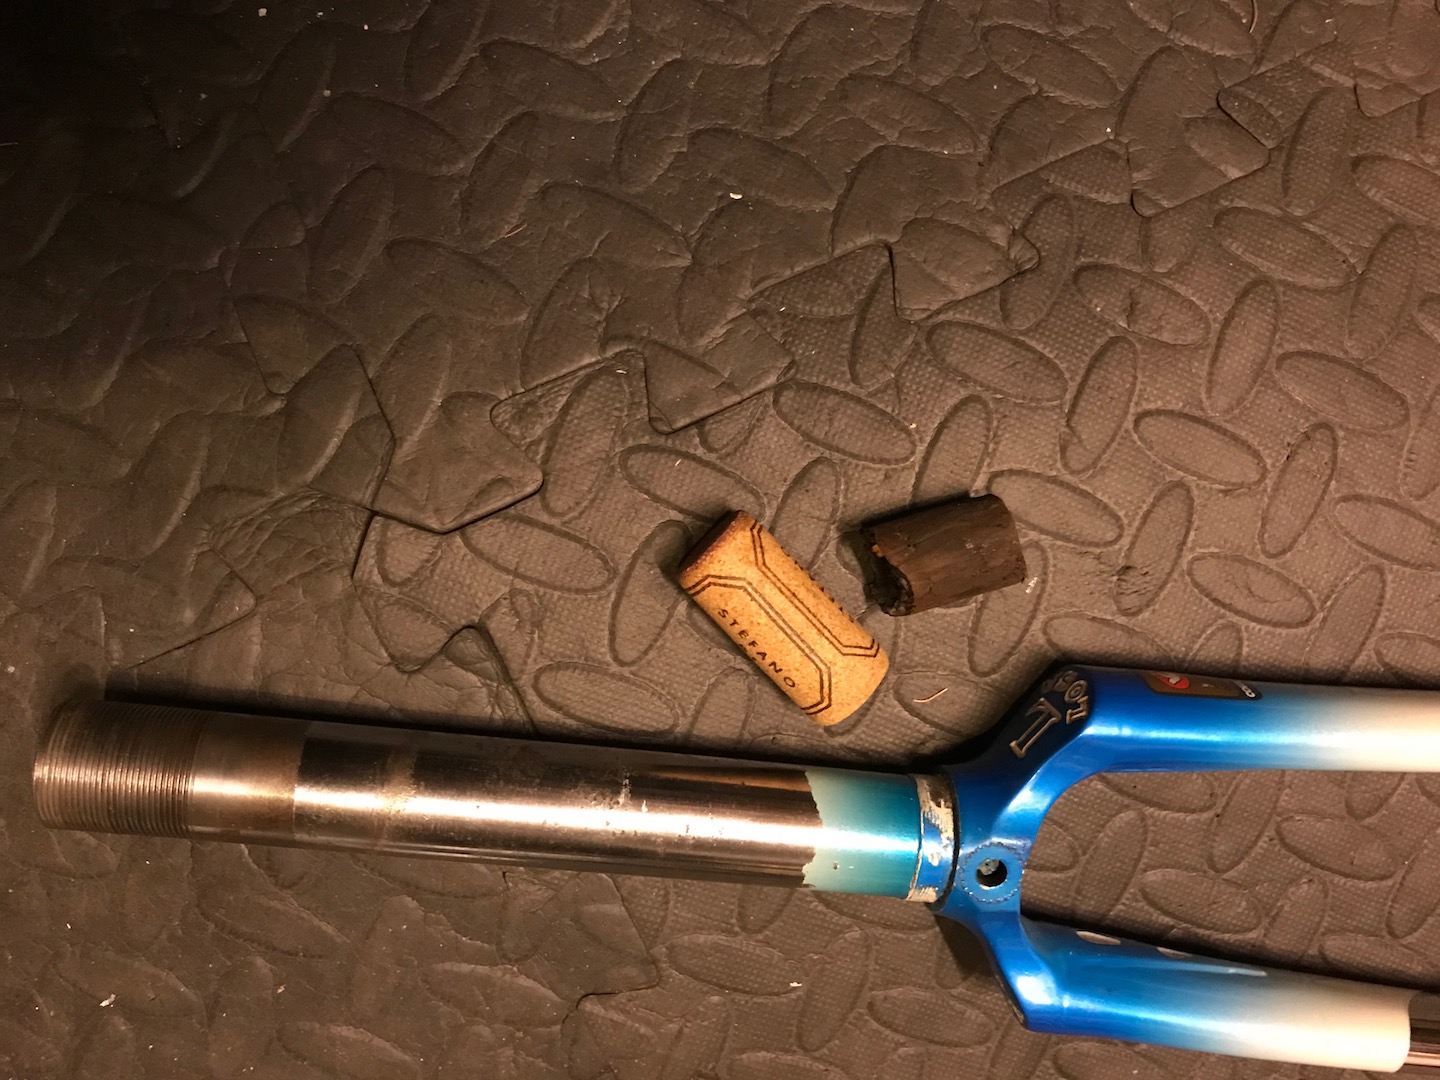
Before I fit the forks & tighten up the headset I need to finish the job I started back at the end of July and replace the cork bung in the steering tube.
Using a carefully selected wine cork (finest Italian Red of course), the offending bamboo rod and extreme caution – so as not to repeat my mishap – the bung is replaced.
Some more grease and a few minutes later and the forks are fitted to the frame.
Build assembly has begun!
1 thought on “Frame Preparation”